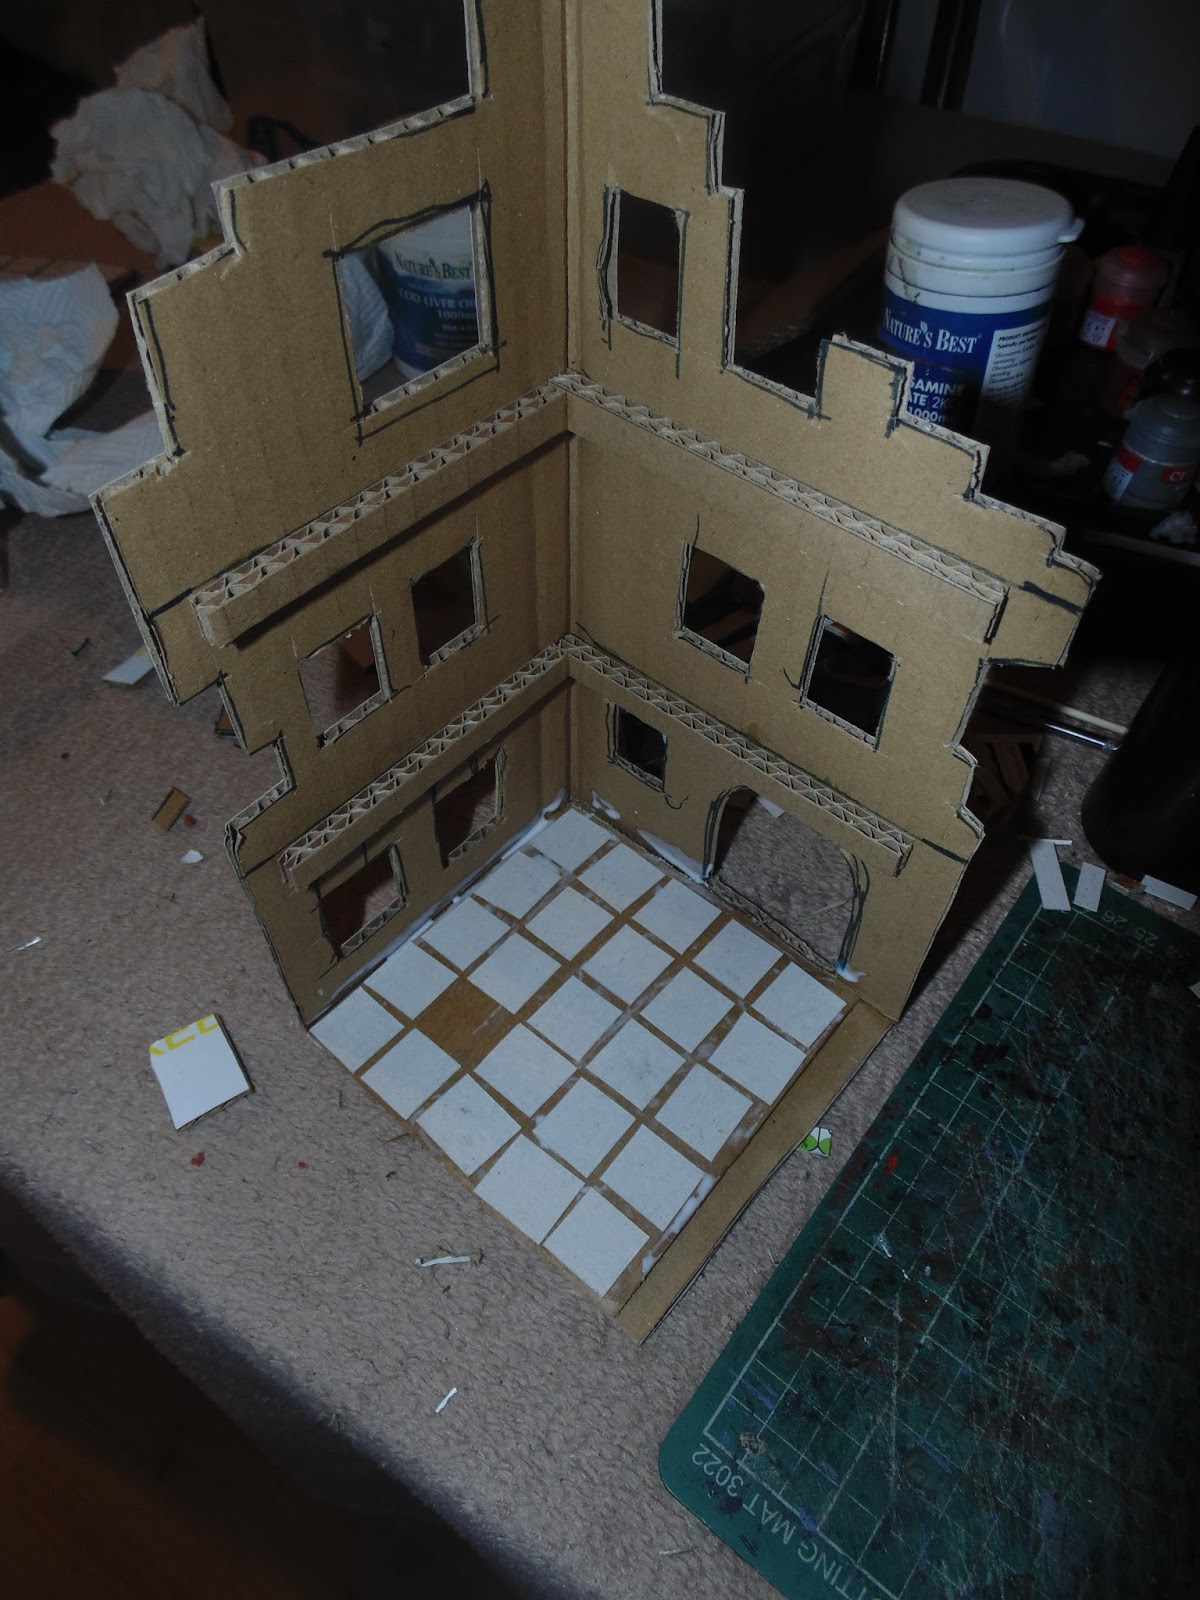
These photos I took over a few sessions and have put them together to show how I go about creating a building for KOW or Mordheim, also at a pinch they could be used with Necromunda models too.
The inspiration for a whole raft of Mordheim ruins/buildings was a box left over from work..
Cut up with a Stanley knife after marked with a felt pen.
Millie has to get involved.
Six buildings could be made from one large box.
Mark out the features.
All cut out.
Cut supports for first and second floor.
Checking the models actually fit.
Kitting out the floors, using cereal card.
Making sure they fit OK.
Floor tops complete I remove them to add the cladding to the inside of the structure.
Added a hardboard base for strength and durability.
At this stage the building has been entirely clad inside and out, and I have added PVAcrete to the edges and to some of the exterior sections for effect.
Beams were added to the underneath floor areas and edged with PVAcrete for strength.
At this point we are ready to paint and then glue all the floors and free standing wall in place.
Hopefully it will all be done for tomorrow, undercoating as I write, well almost!