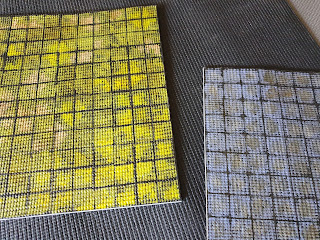
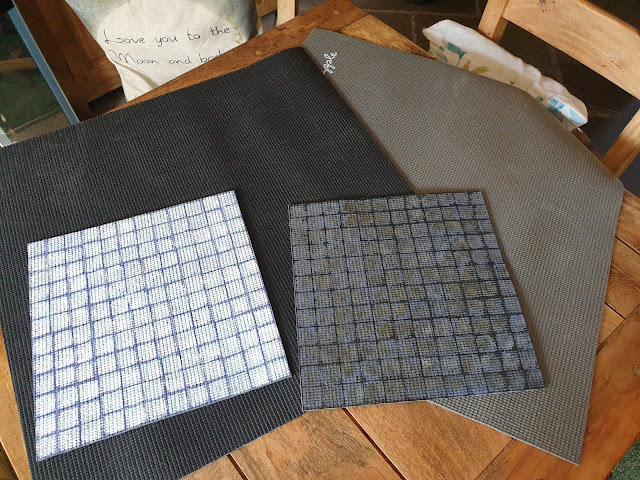
First off, I would like to say that these are a bit of an experiment. I had a camping sleep roll knocking about in the loft some I had cut into to create a buffer between my 2" MDF boards. It occurred to me that I might be able to use them to made a gaming mat. The main reason I decided to experiment was because of this lady from Kamui Cosplay:
It made me wonder how well EVA foam would take acrylic paint and if hers worked well why not mine. Hence the experiment.
Now unfortunately, to my mind at least, my sleeping mat was textured which was not perfect, however because I am a skinflint I decided it didn't matter as it was an experiment.
Basically I started by base coating the EVA with cheap acrylic emulsion, tester pots.
Mainly black, but also that sort in Fang Grey, cos I have a large tin of that :-)
Then I used the stamp shown at the end of this post and some more match pots to print onto the foam. Lastly I went round with a brush and first checked there were no glaring areas I had missed, then I chose a complimentary colour for a bit of variation and dabbed it on.
What surprised me was that even when I rolled up the mats quite tight non of the paint flaked or anything. Impressed the life out of me!
The white, snowy mat is the only one that is not finished really. I feel it needs a blue or green wash in places, but am yet to decide.
After they had set I went on to give them a coat of the varnish/stain you see here, mainly to turn the bright colour down and also for protection.
The stamp I made, cappa or foam board mounted on a bit of left over Balsa wood, for a limited amount of strength.
I just eyeballed where I was putting the stamp, no marking, which is why they are a little off. Although that does not worry me as much as the texture.
As you can see I have enough foam to create 2 more mats with what I have left over and I will not be buying another mat unless I see one dirt cheap and smooth and feel I need some more. We will see :-


Thank you for the tutorial!
ReplyDeleteNo worries fella :-)
Delete